Versatile Hanging Racks That Will Have You Hooked

Revive one of the finest and oldest ways to keep your utensils and appliances organized.

Professional Chefs manage their equipments in a very orderly manner; they always have a practical and versatile kitchen storage racks to avoid clutter and confusion. Unlike many people, they don’t hide pans and pots away in hard to reach cupboard.

These racks range from large, chunky construction that can hold an entire cupboard’s worth, some even has lightings, and clever designs that not only does the job but adds style as well.

Blend with nature
Put up a blanched and sun-bleached branch and put it into good use as a way to hang up kitchen essentials. It makes your most used items close to hand and supplements a natural and casual mood in your kitchen.

Make use of a window
Insufficient working space? A simple bar hung at the window’s horizontal woodwork is an effective way to hang a row of cooking pans. Connect it with open shelves for glasses and cutlery; your kitchen will surely be a sight to behold and this means you don’t have to rummage in various cupboards whenever you cook.

Industrial with rustic look
If you own a range cooker; a rack that demonstrates an industrial-meets-rustic vibe is precisely the suitable way to store it, for it demands a reliable storage space. Putting up one or two sets of identical pans is also perfect for your kitchen to be convenient, as well as visually pleasant.

Maintain simplicity
Hanging kitchen storage does not mean going huge and bulky. Keeping things tidy and minimalistic means you still get a bonus visual interest of the kitchen display, but not getting too carried away.

Utilize space with style
A conventional laundry dryer that operates on a pulley system, is a great addition to a laundry room, scullery, or even for a small and condensed kitchen. While it’s purpose is for drying of clothes, it’s just as functional for hanging pots, pans, and even rugs and towels.

Integrate lighting
A huge central island means the spots above can go underutilized. Keeping all your kitchen tools hanging up and out of the way, but easily reachable; and also integrating lights to illuminate the prep area is a brilliant use of the space.

Organize like a chef
Assemble a line of professional-looking pans and pots along one rail to mimic a creative chef-like kitchen. Be sure to hang the rail and larger pots high enough for the convenience of all the cooks in the household to avoid the risk of accidents.

Experiment on these ways to achieve a versatile and stylish working space.

How To Decide Which Extractor Fan To Use

The newest extractor hoods on the market guarantee a clean and pleasant living space.

With the growing popularity of open-plan kitchen, living and dining rooms, an exceptional extraction system is more essential than ever for making a pleasing environment in which you can cook, dine and relax at the same time. Lounging and socializing with friends just don’t go well with the smell of frying.

There are many key practicalities to think about when shopping around for the finest extractor for your kitchen space. Some examples would be the voltage of your preferred model, where it should be located, whether you decide for a ducted-out or recirculation design, and most importantly, how your extractor fan looks particularly in an entertaining and living space.

Fortunately, there are a lot of choices to go with any interior you would settle on; from ceiling-mounted models to dazzling pendant extractors and practical downdraft designs, so you won’t need to sacrifice style for function.

Decide your budget
Kitchen extraction aims to remove smoke, steam, grease and horrible cooking odors from your surroundings. Extractors differ hugely in price, costing from £50 up to £3,000 for various highly developed models, so pick your priorities in order for you to decide on a budget.

Select your method of extraction
Choose whether you would have to go for a recirculation or ducted-out extractor, as this will establish where you can or can’t put it.

A recirculation extractor functions by taking the air and passing it through a filter before it exhausts that same air back into the room, rather than by eliminating it outdoors. The filter needs to be altered every few months. Though this may be less effective than a ducted-out model, they however, are quick and easy to install, making them a cost-effective alternative.

Ducted extractors on the other hand, bypass the air through ducting and expel it entirely from the building so you will need access to an external wall. This efficient method of extraction deals with smoke and odors very well.

Calculate the noise
An additional concern when buying an extractor is noise. Every model comes with a dB (decibel) rating, which indicates the noise level related with the particular hood. The faster the speed the noisier the hood will be, however, higher-end models are likely to produce less noise.

Analyze the perfect capacity
The volume of the kitchen is usually multiplied by 10 (length x width x height). The estimated number of air changes required per hour to calculate what capacity extractor you should buy.

It is also essential to consider the type of cooking you’re likely to do. Frying or indoor barbecuing need better extraction than others, we recommend selecting a hood with a minimum airflow of 400m3 per hour if you will be cooking two or three items at a time. Latest system for energy-saving means airflow higher than 650m3 per hour are fixed with a built-in timer.

Obtain the accurate height
Ensure that the extractor has the right height above the hob. You should leave a space of between 65cm and 75cm, if you have an electric, gas or induction hob. Check the width of your chosen extractor as well for it needs to be larger and wider than your hob.

Pick your hood style
Whatever the size of your kitchen or how it’s configured, there’s a certain type of hood that goes well with it. Canopy and chimney hoods were the only extractors available before. But nowadays, choices include ceiling-mounted extractors, downdraft extractors and island extractors. Lately, an extraction was included within the hob itself.

Ceiling extractors
Ceiling extractors are constructed into the ceiling or a bulkhead intended to lower the elevation of the ceiling. The advantage of a ceiling extractor includes no barrier to the cook’s line of sight.

Island or Peninsular extractors
These extractors are built to the ceiling above an island unit. Depending on the location of the island, it might be possible to duct out for optimal extraction, especially if you are designing your kitchen from the beginning, then this requirement can be considered for.

Decorative overhanging extractors
Just like the island extractors; pendant or overhanging extractors are suspended from the ceiling on top of an island. A lot of these are only suitable for recirculation alone, so decide as to whether this will be enough for your kitchen’s needs.

Downdraft extractors
A downdraft extractor rises up out of the worktop when in use, and goes down within the surface when not. The closer you put the extractor to the source of cooking, the lesser chance of the ‘dirty’ air to disperse around the room, which is why it is often built behind or to the side of the hob.

Canopy extractors
Canopy extractors also known as built-in extractors, are assembled into the kitchen cabinetry over your hob making a seamless addition to the kitchen. This is perfect for folks who want a simple look as the extractor doesn’t interfere on the kitchen design.

Deciding on which materials and appliances to buy for your kitchen may be difficult, but with these recommendations it is likely to become a reality.

Is a Gas or Electric Hob Ideal for You?

Having a hard time deciding which hob to acquire? These Kitchen Hob ideas will guide you through the perfect material and your work space deserves to obtain.

It is expected for a kitchen hob to be readily available from dusk till dawn, so it’s only right to research the various alternatives available to find one that not only suits your method of cooking, but will last the test of time.

A fine place to start with when making a decision on which hob to choose, is to decide whether you want an electric, gas – or both. By reading below you will discover more about the different types.
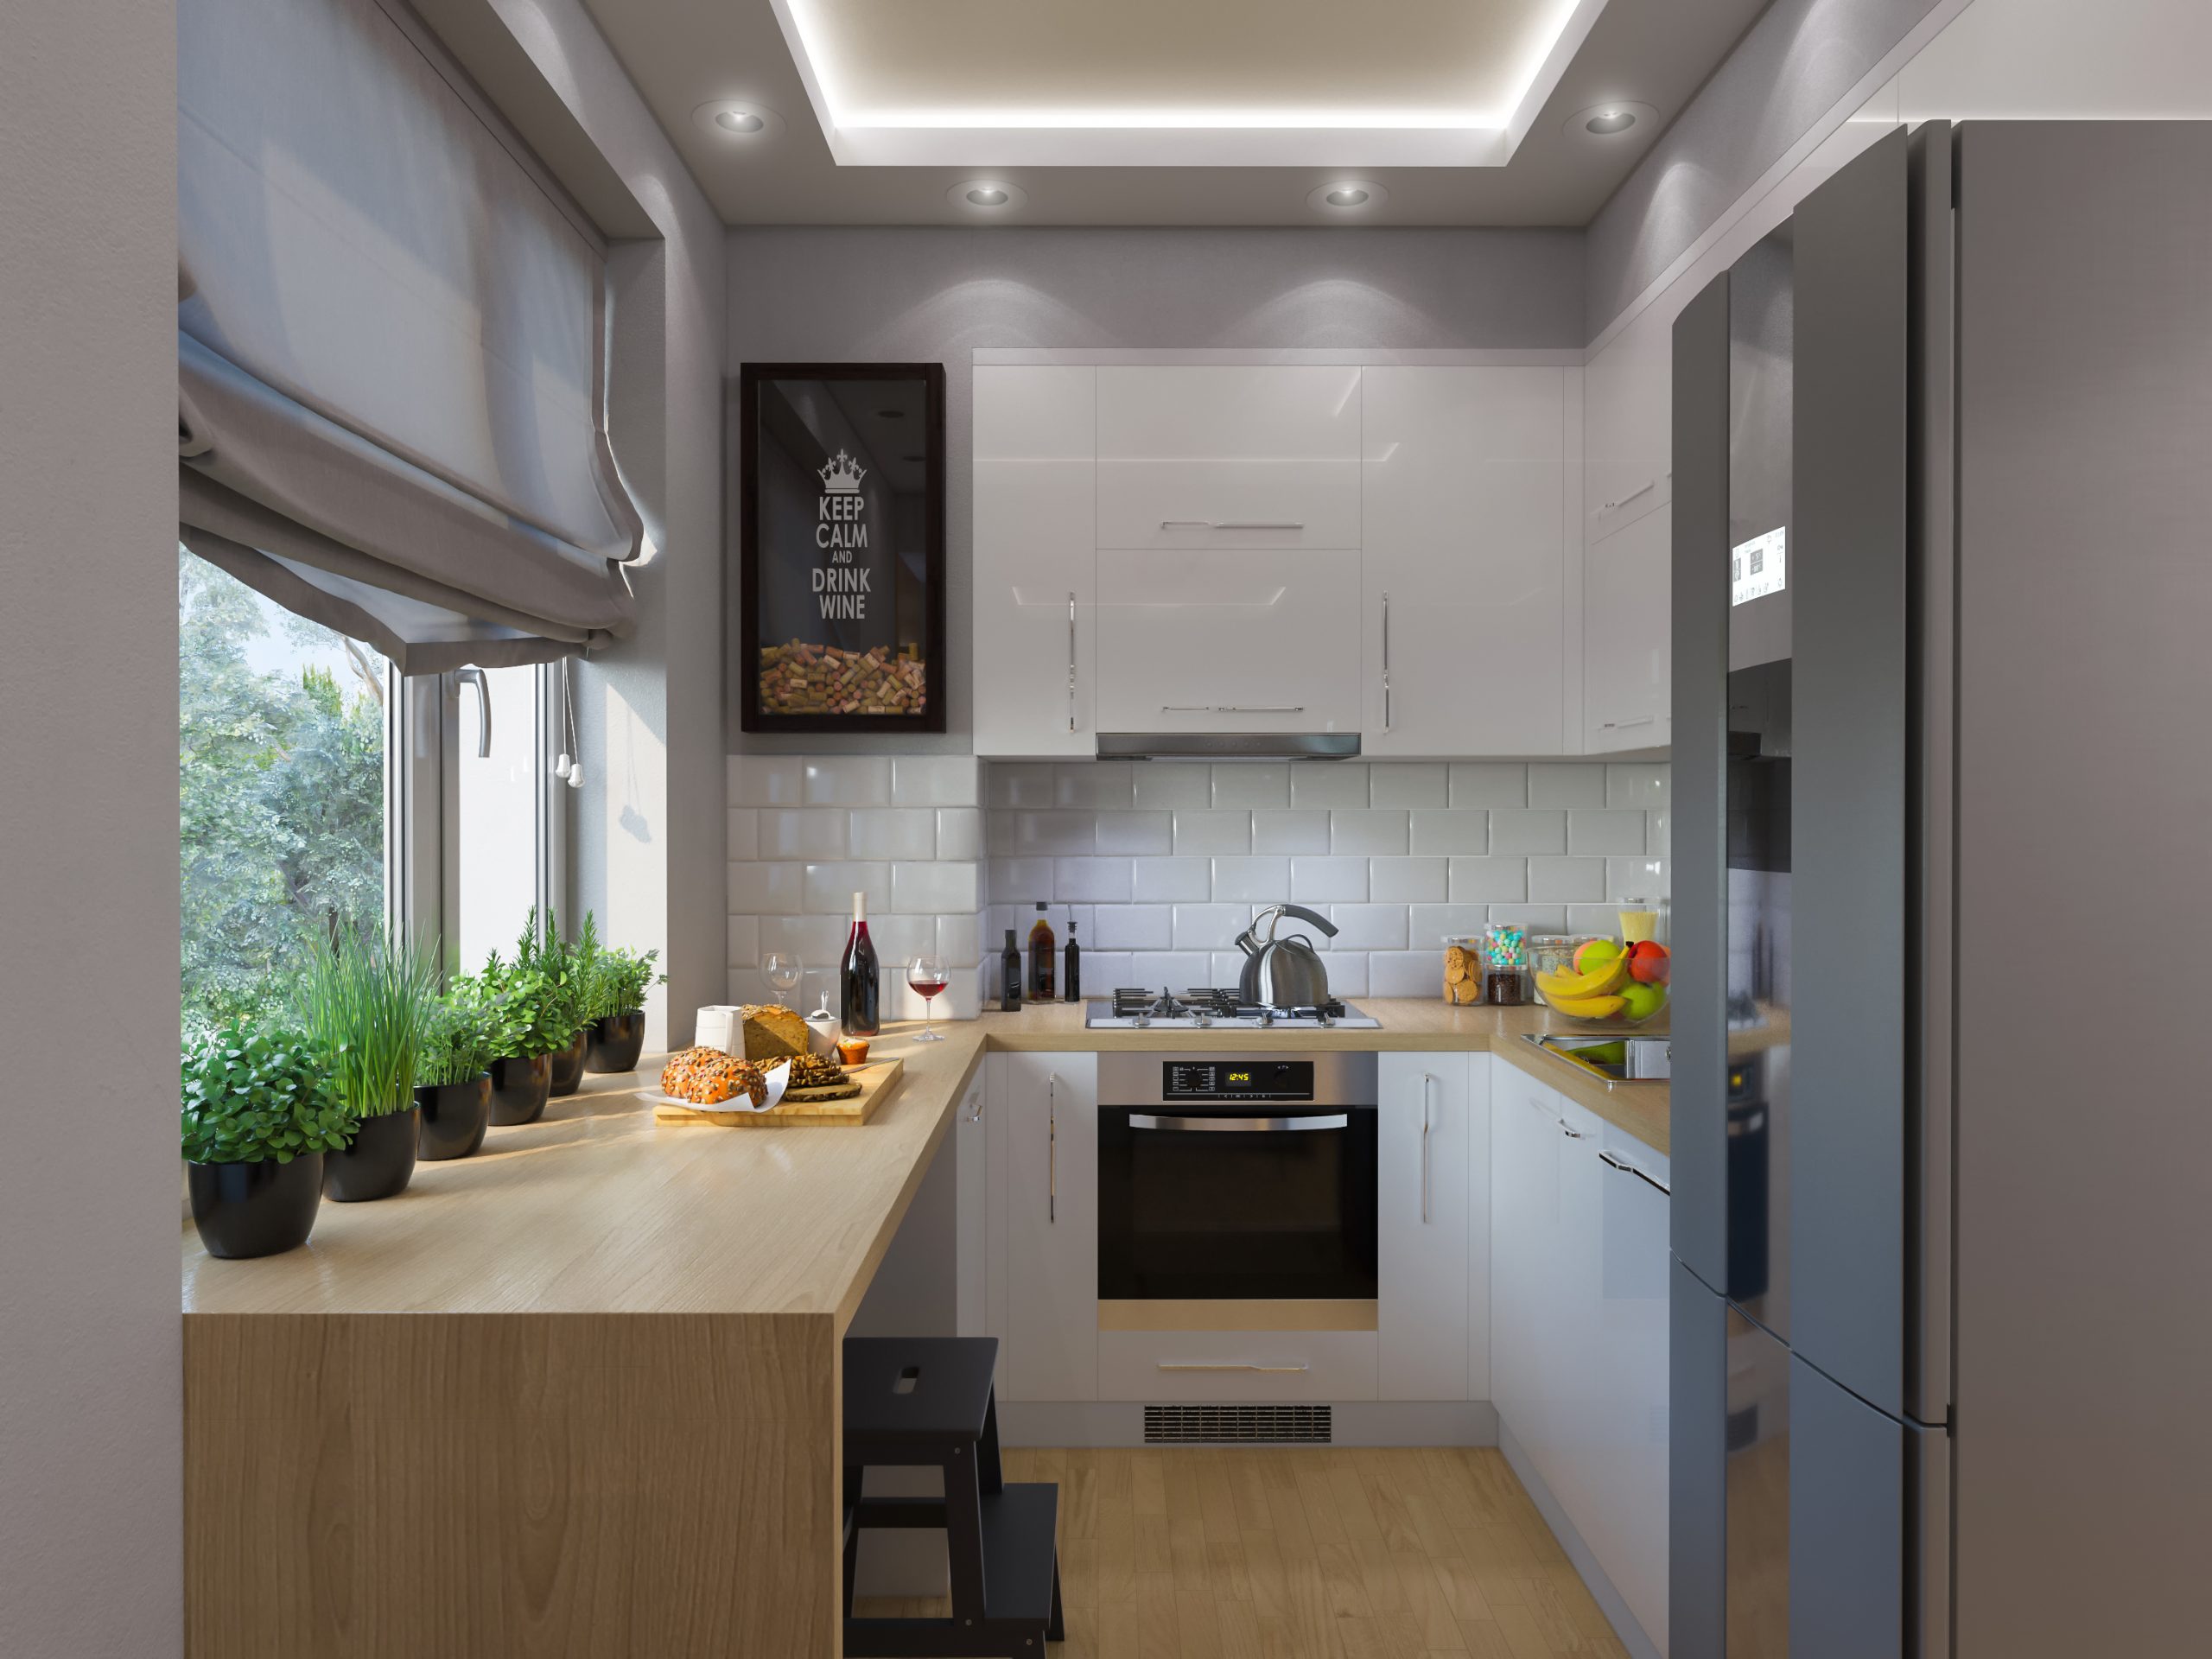
The Gas hobs
An average gas hob comes with four or five burners and a manual ignition switch that lights the gas burner you desire to use. Easy-to-turn knobs that allow you to direct the flames are generally situated in a row at the front of the hob or to one area of the burners. A reminder; gas hobs must be installed by a qualified and skilled professional.

Pros: These types of hobs have traditionally been the preference of professional chefs as they prefer immediate heat that’s entirely controllable and evenly circulated.

Cons: It is occasionally delicate to clean a gas hob, mainly when compared to the smooth, flat surface of an induction or ceramic hob.

Energy efficiency of Gas Hobs
In terms of energy efficiency in recent years, gas hobs have considerably advanced. Numerous gas hobs now consist of an optimal burner, where the flame runs vertically rather than horizontally. In truth, optimal burners are capable of energy saving of at least 10%.

Exterior Equipment for Gas Hobs
Normally, gas hobs are available in glass or stainless steel. Although glass is more expensive than stainless steel, so keep this in mind when choosing your budget for your new hob.

Glass
Generally, the glass type of gas hobs come in black or white and, and due to the smooth surface, these type are quite easy to wipe clean. The only down side is that if your pans boil over or when you spill out something, it will run in all places.

Stainless steel
Frequently, stainless steel hobs have elevated sections that will limit any spills to that particular section of the hob. But though stainless steel appear incredible, it can be tricky to maintain clean and shiny. The solution is to invest in excellent quality stainless steel cleaning products or maybe an e-cloth to help preserve its superior looks.
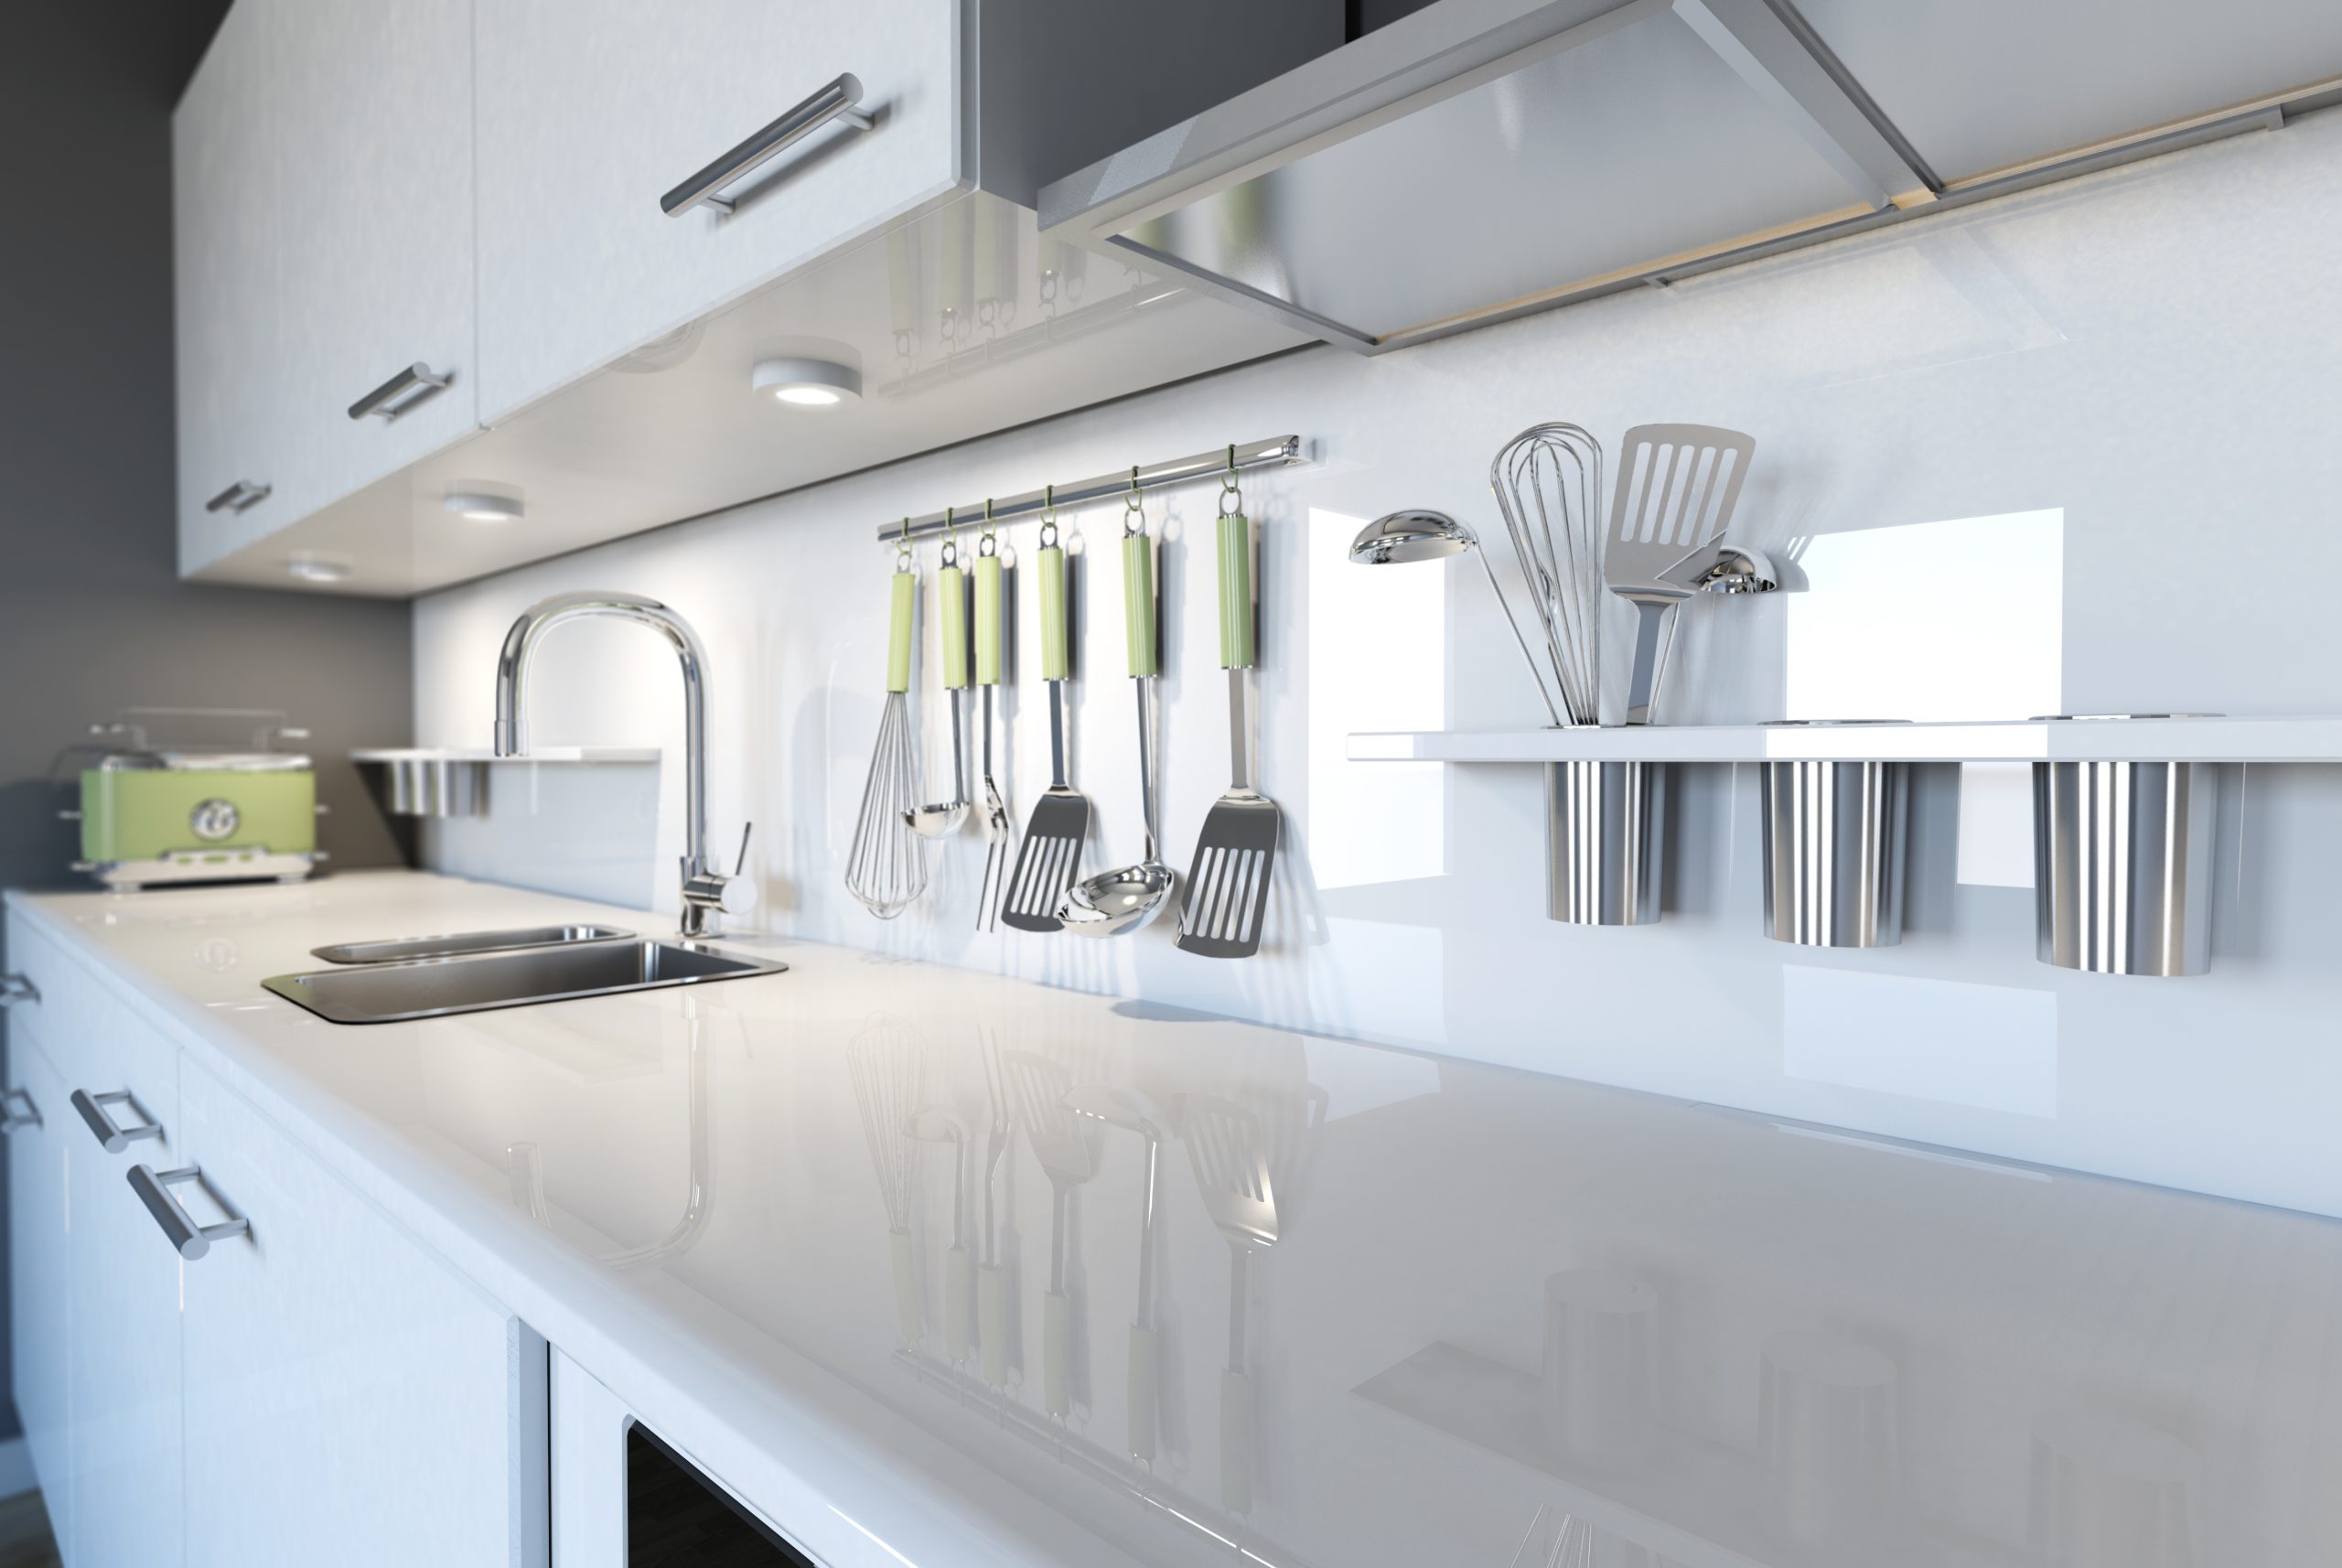
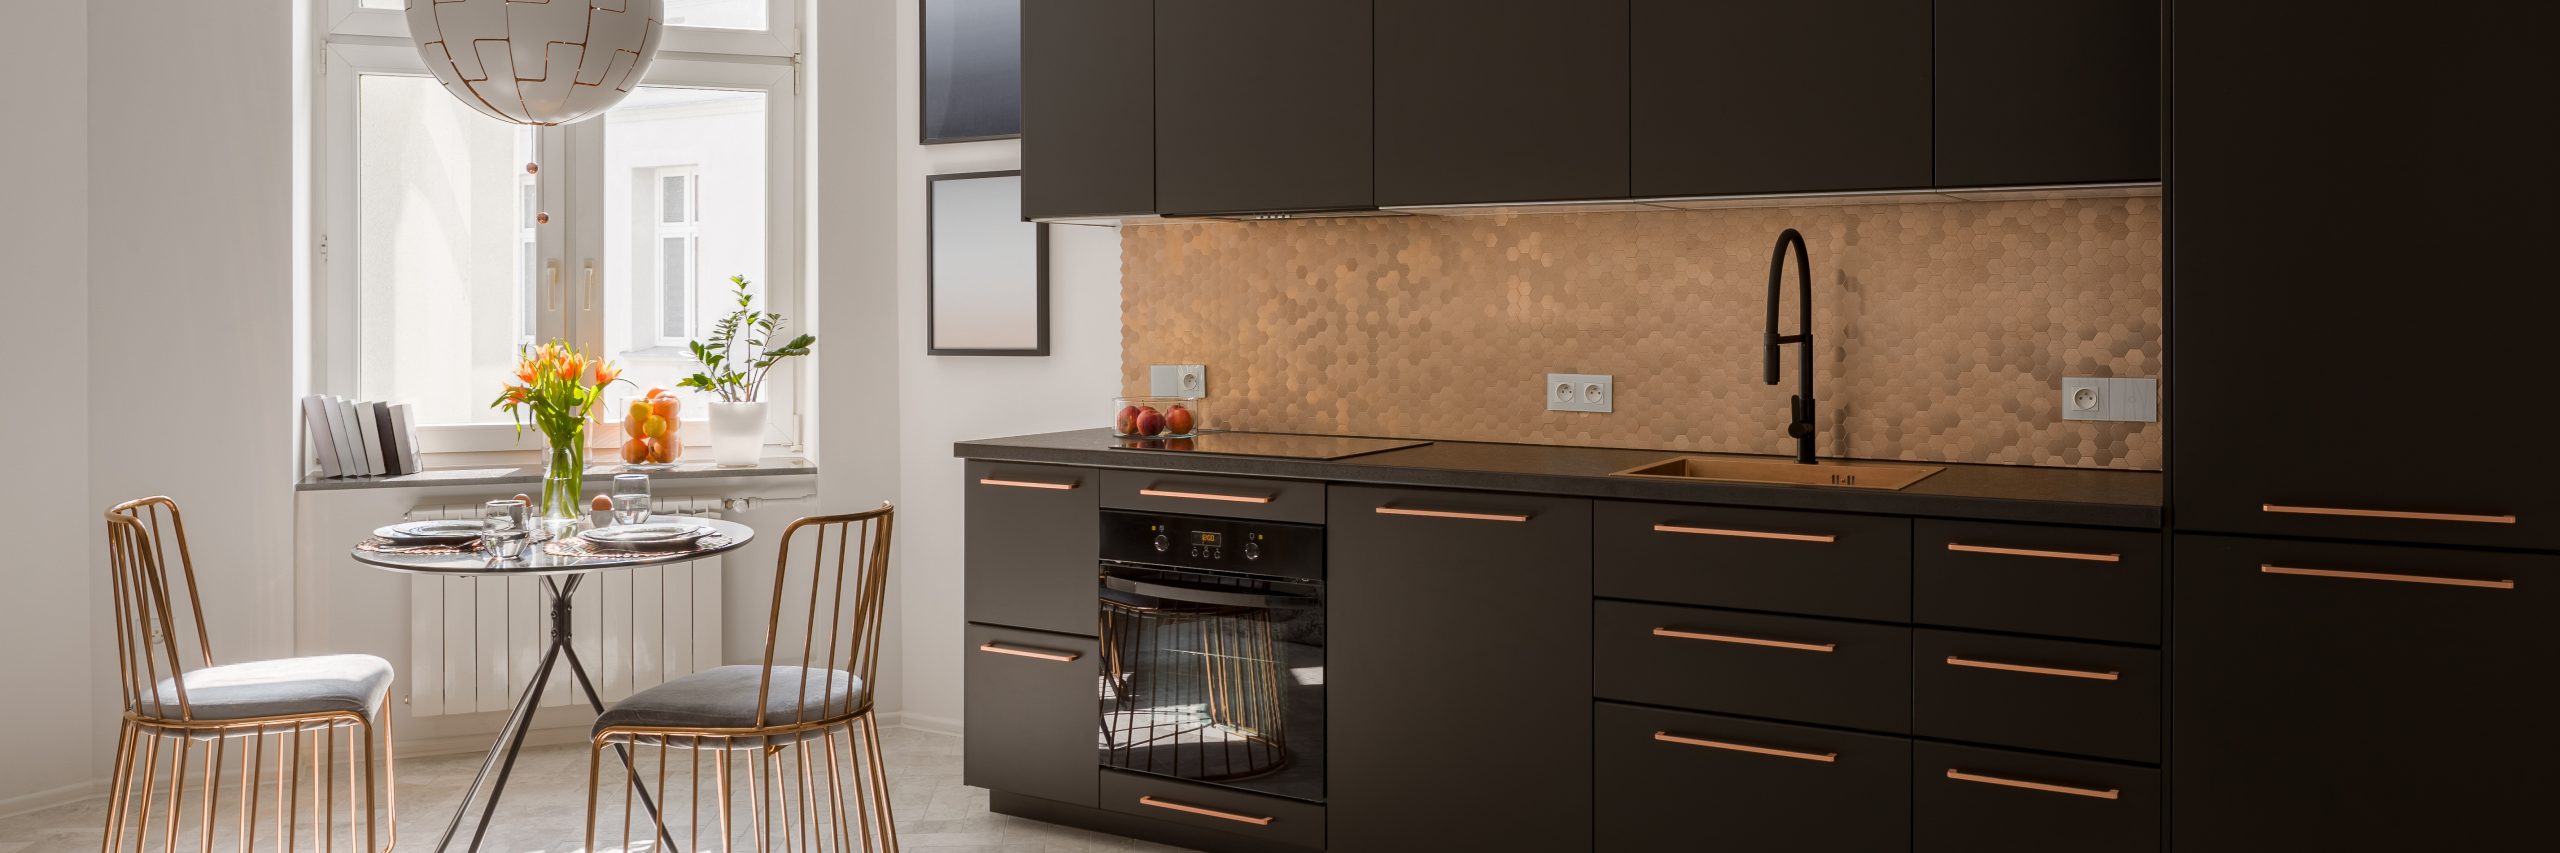
Electric hobs
Contemporary electric hobs fall into two categories: ceramic and induction. While the two technologies present diverse cooking results, they also have a quantity of common characteristics.

For instance, ceramic and induction hobs both present the same sleek glass look. The smooth, flat surface makes these hobs exceedingly easy to clean. Electric hobs are also very handy if you live in a rural area where gas isn’t readily obtainable.

Ceramic hobs
A great choice for people who have a restricted budget are ceramic hobs. They are often a lot cheaper than the other types and it comes in an immense number of styles and sizes to go well with any kitchen setting.

Pros: A ceramic hob looks modernized from the exterior and its smooth surface indicates that it’s quite uncomplicated to clean. Contrasting from the induction hobs; a ceramic hob does not necessitate an exact type of pan.

Cons: Ceramic hobs are frequently slower to heat up than other induction hobs and are more complicated to manage. Unlike other induction hobs which solitarily heat the pan and its contents, the exterior surface of a ceramic hob however gets pretty hot as well.
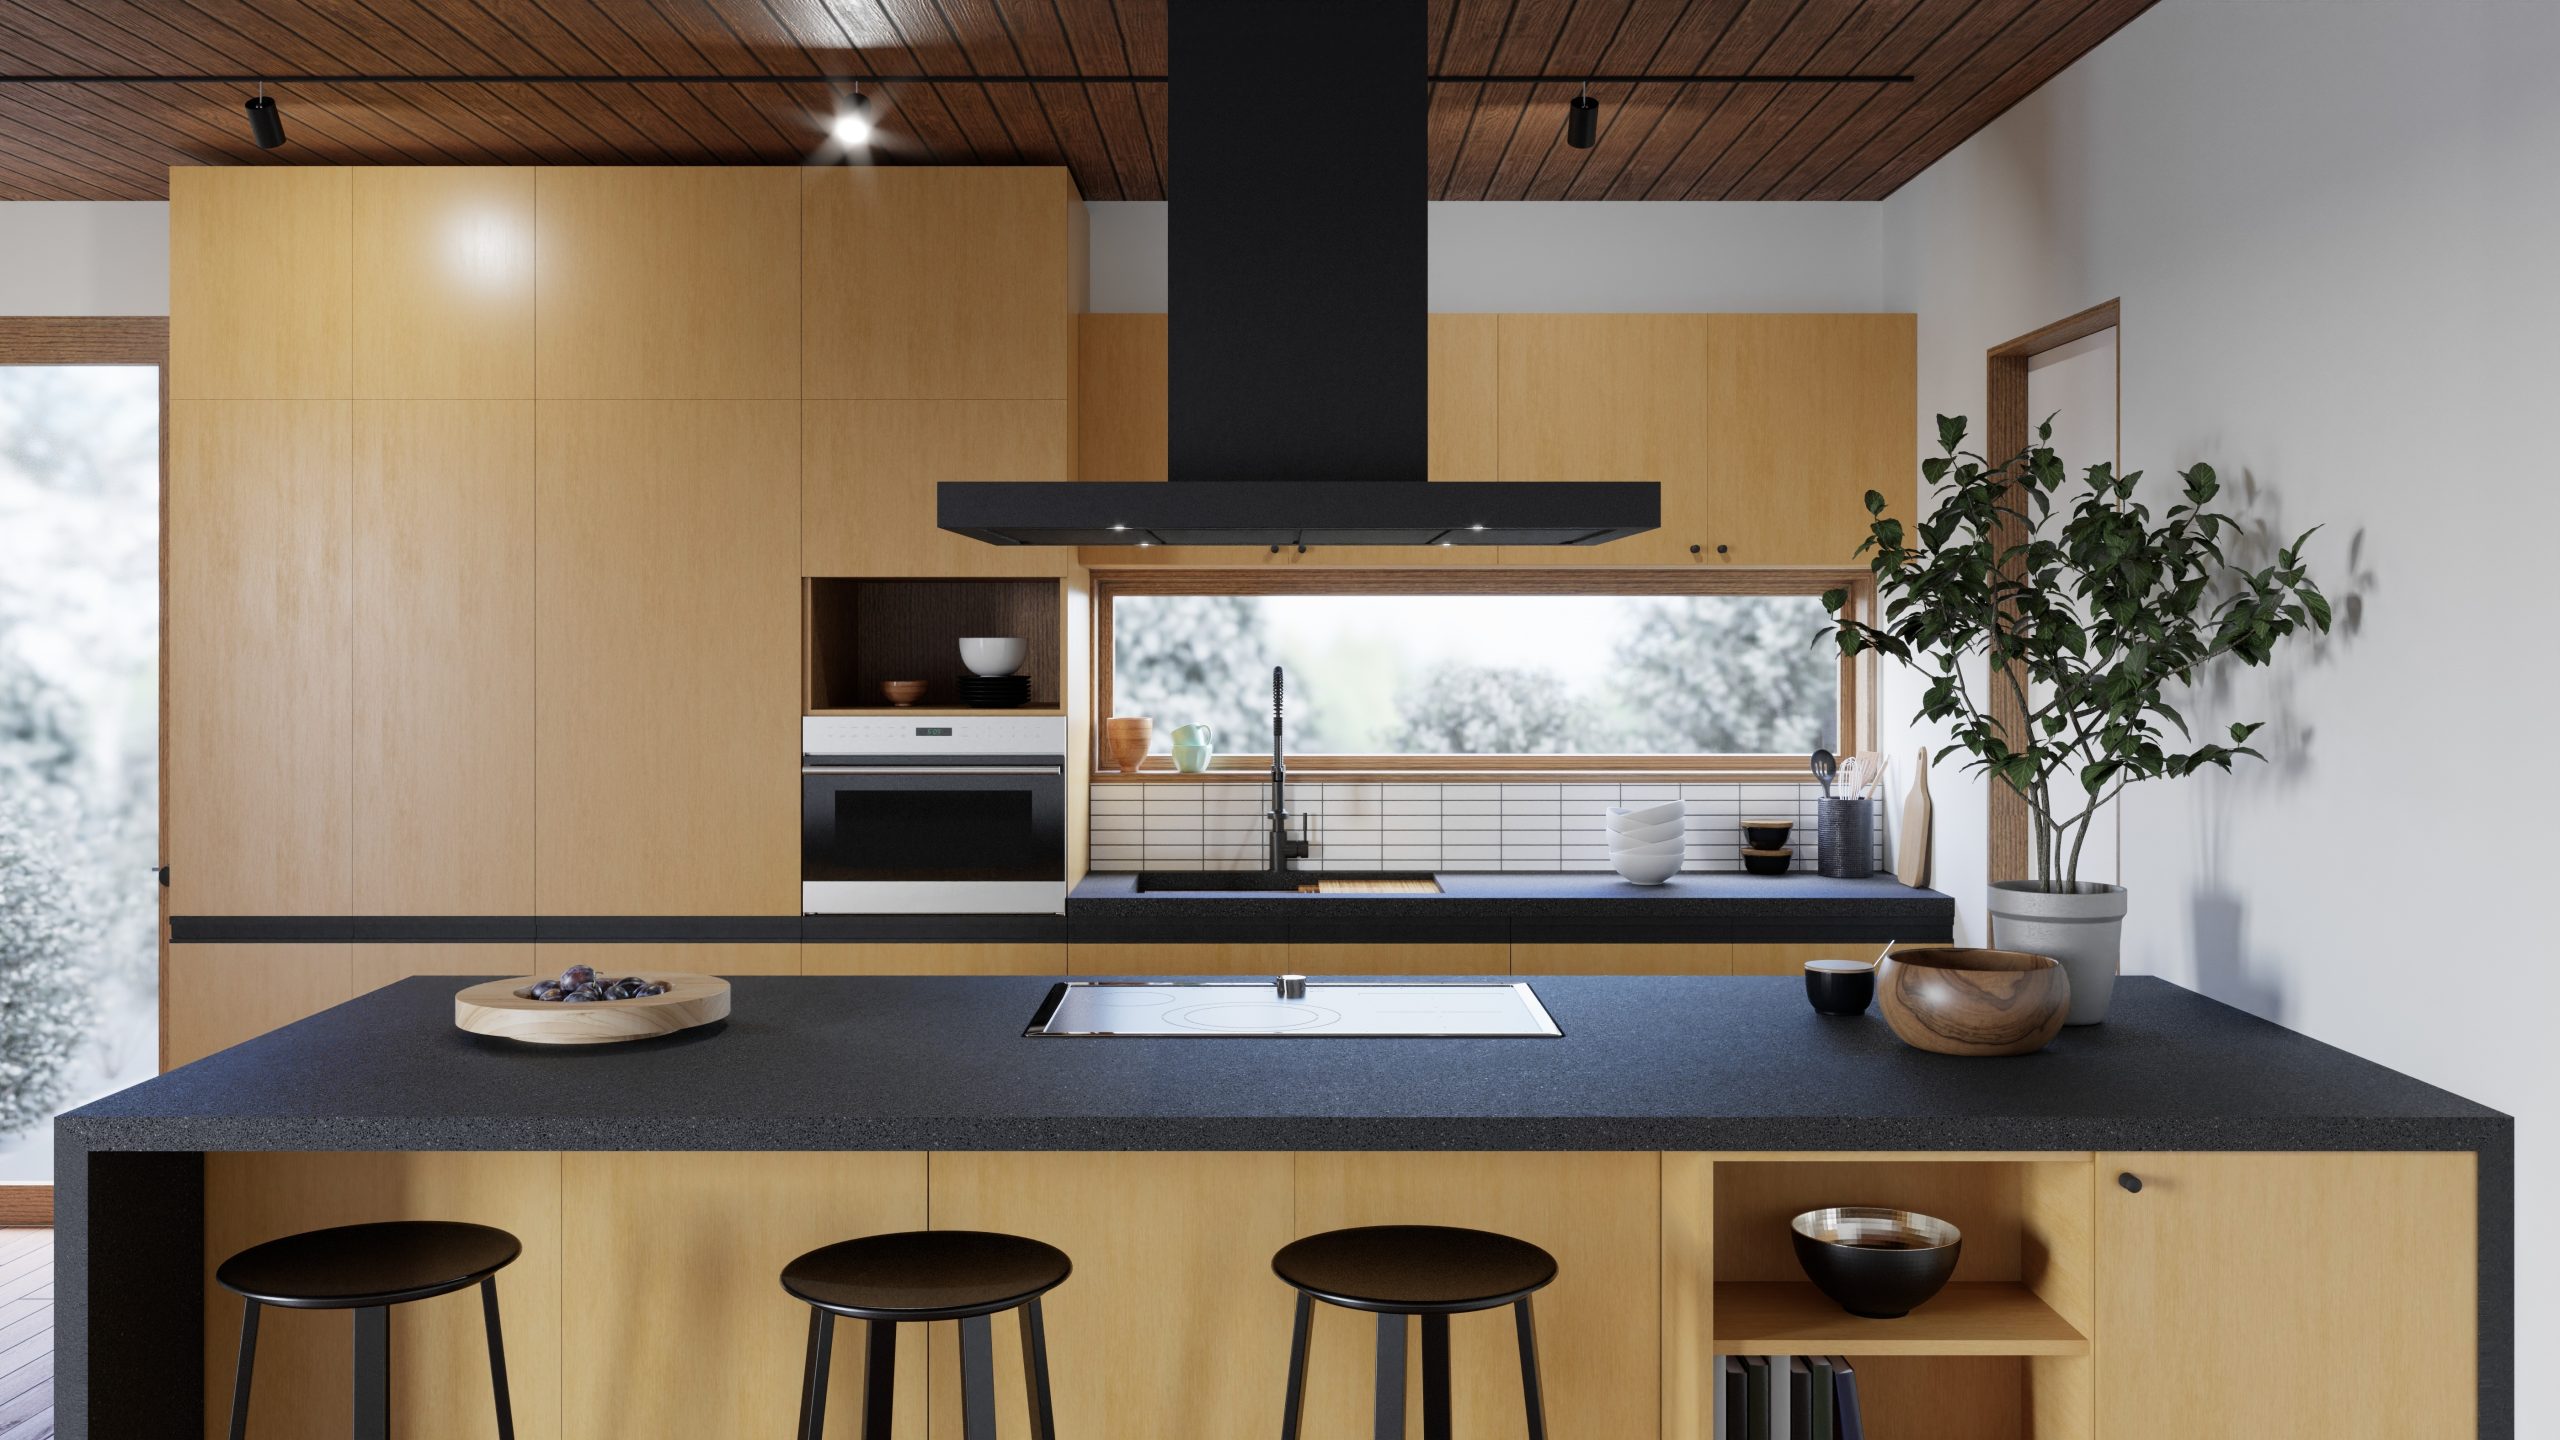
Induction hobs
Induction technology utilizes magnetism to heat just the pan which made it entirely diverse from the ceramic hobs. This enables heat to permeate the food exceedingly fast. It also minimizes the danger of burns during and after food preparation.

Pros: Besides its reputation for energy efficiency and safety, the temperature controls on an excellent induction hob permit you to tweak the intensity of heat temperature in little increments, allowing you to have exceptional control.

Cons: These are more generally costly than gas or ceramic hobs. In addition, a vast deal of people can hold over induction since they merely work with pans made of ferrous metal. On the other hand, your existing pan set may actually be already fitting for Induction hobs. An immediate test to confirm this is to observe whether a magnet sticks to the base of the pan. If it does, then your pans ought to be appropriate for an induction hob.

Innovative features of induction hobs
Induction hobs feature a great number of clever functions to make them exceedingly effortless to utilize. Several come with a detachable magnetic dial, which you merely point towards the area you want to use and then twist to pick the intensity of heat.

Zone less induction cooking
An example of another incredibly versatile induction hobs are the Zone less hobs. These are increasingly popular, for instead of having a varied amount of designated cooking zones, you can rest your saucepans everywhere on the surface of a zoneless hob. This in turn presents you with definitive flexibility, as the hob automatically distinguish the pan on the plane and heats the individual induction coils as suitable.

Opt for both
When you can’t decide between electric or gas, invest in a dual-fuel hob that obtains the benefits of both instead. Commonly, a distinct single wok burner is placed in conjunction with quite a few induction zones.

I hope you’ll find these ideas informative and helpful on deciding which hob appliance is ideal for your modern kitchen space.

Smart and Stylish Ways to Get the Most out of Space in a Condensed Kitchen

Nominal square area is no obstacle to realizing your culinary dreams and imaginings. These tips and ideas will aid you on how to get the most out of your kitchen space.

The majority of us dream of having a huge and stylish family kitchen, but most of us have to deal with something more diminutive. That being said, no matter what the size our kitchen is, the demands we rest on it tend to be no different. We want it to be functional and compelling; a place to prepare and cook meals, as well as entertain guests with our delicious meals. We entail the space to hold a lot of different materials; from big and chunky appliances to dishes, crockery and of course food.

With some clever planning and grand design, it is achievable to squash all these functions into one tiny working space.

Make use of every corner and fissure
When space is tight, it’s essential to make use of all of it. This might mean arranging some bespoke units. Designing your own cupboards or shelves for your work space, rather than buying ready-made shelves can widen and develop even the most discomfited corners or weirdly inclined roof lines. Since the number of units you will be able to fit is restricted by the tiny scale of the room, having a bespoke design frequently works out to be rationally cost-effective, too.

Take pleasure in organizing
Wall cupboards can consume the space in a very tiny kitchen, although you can still create any wall to work for you by fitting rails, racks and lean shelves. But by creating this idea into reality, you can clutch anything from saucepans stringed up on S hooks, to mugs, utensils and pots holding dishes. Installing blackboard paint helps it to multitask further to write shopping lists and notes.

Make it simple
Mismatched and chunky pieces will chomp through space and it creates a tiny kitchen to seem chaotic. As a substitute, decide on units with nominal styling and a worktop that flows above all the base units and even expands to become a breakfast bar.

Locate an additional home for the goods
Tumble dryers and washing machines are frequently installed in the kitchen, but, when space is inadequate, it’s ideal to find a substitute quarter for them. The corner beneath the stairs can be a wonderful solution to this.

Prefer the clever details
Ample amount of smart space-saving elements that can be constructed into an innovative kitchen, so if you’re starting from the beginning, pay attention to things like lean spice jar storage, kickboard drawers, knife drawers and incorporated chopping boards that slide above a sink or the one inserted from the wall.

Try self-supporting pieces
It might appear counterintuitive to install self-supporting furniture into a tiny kitchen because after all, it does not make quite such efficient use of space. Except if you obtain the view that where room is insufficient it’s essential to make every item you place in it stand out. A freestanding or self-supporting piece containing the sink, oven and cupboards, can seem like a great piece of furniture that fits stylishly into the space.

Elevate the ceiling
Analyzing the proportions of the room and splashing out on a few architectural work can make an enormous difference to a small kitchen. If yours is in a single-storey space, elevating the ceiling to expose the leaning roof line will add a massive sense of airiness and light. It also presents an opportunity to set up skylights, which draws in more light than perpendicular windows. In addition, it produces an elevated wall against which you can put shelves or cupboards for utmost storage.

Incorporate appliances
You may perhaps desire for a huge, freestanding range complete with five burners, but for a small-scale kitchen, it’s not the place to have one. As an alternative, incorporate your appliances for a more efficient look and space-friendly solution. Structuring the microwave into a cupboard will open up worktop space.

Do your magic in a convenient diminutive island
Aside from generating some fixed units, a tiny, movable and changeable butcher’s block with shelves, is exceedingly practical. It takes up very small room while supplying added storage and preparation space. It will also generate the relaxed, freestanding look you may be longing to put together.

Integrate these ideas and turn your tiny cluttered kitchen, into an efficient and organized working space.

15 Different Splashback Examples For Your Kitchen

You can add some OOMPPHHH to the overall look and feel of your kitchen with some unique splashbacks. If you want a sophisticated touch of elegance and style for your kitchen, then go for luxurious splashbacks. If you want to add some life and color to your kitchen, then splashbacks in vibrant colors would be the best way to go.

Remember, your splashbacks should also focus on the four main aspects that can make or break the design of your kitchen. These are quality, symmetry, color theme and layout. Quality refers to the materials of your splashbacks and the execution of its design, while symmetry and layout are all about how your splashbacks and where you place it can go well with the other items in your kitchen. Color theme is on the other hand about how your splashbacks can serve as effective accents to the overall color theme of your kitchen.

To give you unique ideas for your kitchen, here are 15 creative splashback concepts from some of the best kitchen designers of the world today:

15 Creative Splashback Concepts You Probably Haven’t Heard Before:

1.    Photography-Styled Splashbacks – You can choose any digital image that you like, blow it up, print it out and use it for your splashbacks. For family-themed splashbacks, you can use a family portrait. Be creative, and you’re sure to end up with amazing looking splashbacks that can wow and impress your guests to no end.

2.    Farm House-Themed Splashbacks – Want that rustic, comfortable look and feel for your kitchen? You can use salvaged boards for this. Just choose ones made out of similar high quality material as the other items in your kitchen, apply some varnish or paint and position it at the best areas in your kitchen.

3.    Coffee Station-Styled Splashbacks – You can use reclaimed wood for these splashbacks. Just make sure to select reclaimed wood that’s similar to some of the wooden items in your kitchen, such as your dining set, doors, cabinets, drawers and appliances.

4.    Retro-Themed Splashbacks – Vintage bottle caps are stylish items that you can use for these splashbacks. Just keep in mind to match the color theme of your vintage splashbacks with some of the other items in your kitchen.

5.    Modern Funk-Styled Splashbacks – Salvaged downhill skis can be used for these splashbacks. Just a bit of creativity and some elbow grease can give you unique splashbacks for your kitchen.

6.    Elegant Traditional-Styled Splashbacks – You can use antique mirrors from your local DIY shop or hardware store for these splashbacks. This can also make your kitchen look more spacious.

7.    Classroom-Themed Splashbacks – Just use some magnetic chalkboard paint for these splashbacks, and you’re done. Overall look and feel would solely be up to you, since you can choose from a wide assortment of paints for this.

8.    Country-Styled Splashbacks – Buttons of clothes and other garments can be used for these splashbacks. Just keep in mind symmetry and color theme when creating these unique splashbacks for your kitchen.

9.    Gypsy-Styled Splashbacks – Coins, modern or antique ones, would be great to use for these splashbacks. Also add some other items to improve the look and feel of your design.

10.    Industrial-Themed Splashbacks – Copper metal sheets and some paint can do wonders for these splashbacks. Elbow grease would also be required, in case you want to cut these copper metal sheets in custom shapes to best suit the style of your kitchen.

11.    Cottage-Styled Splashbacks – Tiles and other ceramic materials, even pieces from china items, can be used for these splashbacks. This can give your kitchen a humble and comfortable look.

12.    Bar-Styled Splashbacks – Wine corks can be used for these splashbacks. Just cut it according to the shapes and sizes that you want, and you’re done.

13.    Rustic Country-Themed Splashbacks – Stained glass can be used for these splashbacks. Smoked glass is another good option.

14.    Winery-Themed Splashbacks – Used wooden wine crates would be perfect for these splashbacks. You can add some paint or other items if you want.

15.    Classic Industrial-Styled Splashbacks – Tin tiles or molded plastic panels can be used for these splashbacks. You can add some paint to get your desired finish.

Try these splashback concepts out for your home and see what you think.

Natural Stone Kitchen Doors

Natural stone kitchen doors offer a luxury and distinctive accent to any home. They provide their own unique character and timeless elegance, whilst still remaining extremely practical and hard-wearing. The doors are available in a number of different stones, such as marble, granite, onyx or slate. Stone doors are a completely maintenance free surface that can withstand shocks, pressure and scratches, providing the highest standard of materials, durability, surface design and processing requirements.

Stone kitchen doors are engineered by layering a 3mm thick slab of stone on either side of a frame of your choice, available in different heights, widths and thicknesses. It has a highly stable patented sandwich construction and the door leaf is 100% water resistant. Different fold variants are available and all safety elements are integral.

Indian Slate Kitchen Doors

Whilst Indian slate has for a long time been a popular choice for floor and wall tiles and paving, we are now seeing its increasing usage in interior doors, particularly those in the kitchen. It is a beautiful and intricate looking natural material, available in a range of exuberant colour combinations. Indian slate is extremely durable, with it being an exceedingly strong stone with excellent resistant qualities.

It is a naturally occurring fine-grained metamorphic rock that, when cut and made smooth, is a perfect constructional component, especially as a material for your kitchen door. Slate provides a resistance to extreme weather conditions, meaning that it makes a great barrier from outside weather conditions. Slate also has minimal moisture retaining ability and a very low absorption rate, therefore it would resist from mould and dampening. One other interesting feature of the rock is that it has anti-bacterial qualities, making it a great material for your kitchen door.

Polished Concrete Kitchen Doors

Polished concrete kitchen doors offer a striking and contemporary alternative to traditional wooden doors. Very affordable, versatile and extremely strong and durable, concrete is becoming an increasingly popular material for use in the home.

Concrete doors, when combined with high ceilings and a large frame can really make a statement if you have the luxury of a large space to work with, especially if you choose a door with a greater thickness. However, that is not to say that they can’t work in more compact spaces. A thinner, lighter concrete door will fit perfectly into a smaller space, giving it a sleek and modern look.

Concrete grey has also seen a huge rise in popularity in the recent years for kitchens, with many people opting for grey doors for their kitchen units, grey stone worktops, grey floor tiles and fixtures. It is fast becoming one of the most predominant colours that we offer.

Concrete as a material has many benefits. It is a very low maintenance material, as with it being inert, compact and non-porous, it does not attract mould or lose its key properties over time. It also has an excellent thermal mass, slowing the passage of heat moving through, reducing temperature swings. This reduces energy needs from heating or air-conditioning, offering year-round energy savings over the lifetime of the building.

How to Clean your Kitchen – Cleaning Essentials Guide

The kitchen is at the heart of every home – but with a lot of use it can become dirty fast. Whilst wiping down surfaces regularly with a good disinfectant and keeping on top of the washing up will keep your kitchen looking satisfactory in the short term, the larger cleaning jobs can soon build up and you may find yourself spending an entire day deep-cleaning your kitchen from top to bottom. However, by spreading out the larger jobs over a longer period of time you can avoid these cleaning marathons and keep your kitchen looking spotless and a hygienic place to prepare and cook food in.

The first and most important step to take is to ensure that you are stocked with all the cleaning essentials for your kitchen. This will make your life much easier in terms of sticking to a schedule or staying organised and will avoid any unnecessary supermarket dashes! Below is a list of some of the most popular products, but it all comes down to personal preference and what works for you.

  1. Baking soda – A natural mild abrasive and deodorizer, it makes the perfect additive to any cleaning solution, working on tough grease, soap scum and scuff marks.
  2. White Vinegar – Vinegar is a degreaser, a streak-free cleaning agent, a mild disinfectant and a deodorizer. It’s amazing for everything from cutting heavy kitchen grease, to cleaning windows or a simple floor cleaner.
  3. Dish soap – With this a small squirt goes a long way. A pH neutral cleaner, this is an absolute essential for everyday dish-washing. Big name brands such as Fairy are great, but a lower priced option does the job just as well.
  4. All-purpose cleaner – Perfect for general surface cleaning. Can be used to clean counter tops, to remove build ups, for furniture surfaces and for general touch ups. This cannot clean glass, remove clothing stains and will only disinfect if product specifically states it is a disinfectant. One brand that is very popular is Method, and they offer a wide range of scents and purpose cleaners.
  5. Disinfectant – This product is an essential for the kitchen, especially in places where raw food is being handled. A good disinfectant like Dettol will significantly reduce the risk factor when cooking in your kitchen, by killing any harmful bacteria on the surface. An all purpose cleaner with disinfectant properties will save space and cost.

One golden rule for cleaning the kitchen is to always start with the sink. By keeping it empty and shining, it becomes the benchmark for your kitchen hygiene and tidiness.

Below are some suggestions on how to divide up your kitchen chores, so that you can keep your kitchen looking spotless and time spent cleaning to a minimum.

Cleaning jobs to be carried out every day:

  • Wash all dishes that have been used that day.
    Time taken: Varies
  • Wipe down the sink after doing the dishes or loading the dishwasher.
    Time taken: 30 seconds
  • Wipe down the stove top.
    Time taken: 1 minute
  • Wipe down the counters.
    Time taken: 1 minute
  • Sweep, swiffer or vacuum the floor.
    Time taken: 3 minutes

Cleaning jobs to be carried out every week:

  • Mop the floor.
    Time taken: 5 minutes
  • Wipe the cabinets, backsplashes and appliances.
    Time taken: 10 minutes
  • Wash the dish rack
    Time taken: 4 minutes
  • Wipe the switch plates and phone
    Time taken: 1 minute
  • Wipe the inside of the garbage can
    Time taken: 1 minute

With the weekly jobs it may be worth allocating a certain day for each job. This means that you won’t spend too much additional time each day cleaning your kitchen. This will make the larger jobs a lot more manageable.

Cleaning jobs to be carried out every season (every 3 months):

  • Empty and scrub down the inside of the refrigerator
    Time taken: 30 minutes
  • Empty and clean the insides of the utensil drawers
    Time taken: 15 minutes
  • Scrub down the cupboard exteriors
    Time taken: 30 minutes
  • Clean the stove-hood filter
    Time taken: 10 minutes
  • Deep sink clean

Method:

Fill sink with hot water. Add one cup of regular bleach. Soak for one hour.
Drain and rinse thoroughly.
Scrub with Ajax, Bon Ami or baking soda.
Be sure to rinse thoroughly
Shine with windex or another glass cleaning spray. Dry thoroughly.

With these seasonal cleaning jobs, you can either spread each one across the 3 month period or, if you prefer, have a long deep-cleaning session to get them all out of the way. By staying on top of these jobs you will find yourself cleaning much more efficiently and maintaining a high standard of hygiene and cleanliness in your kitchen.